🧰 Tools & Gear You’ll Need
- Mac computer (macOS 10.15 Catalina or later recommended for APFS)
- External SSD (at least 2x your Mac’s internal storage capacity)
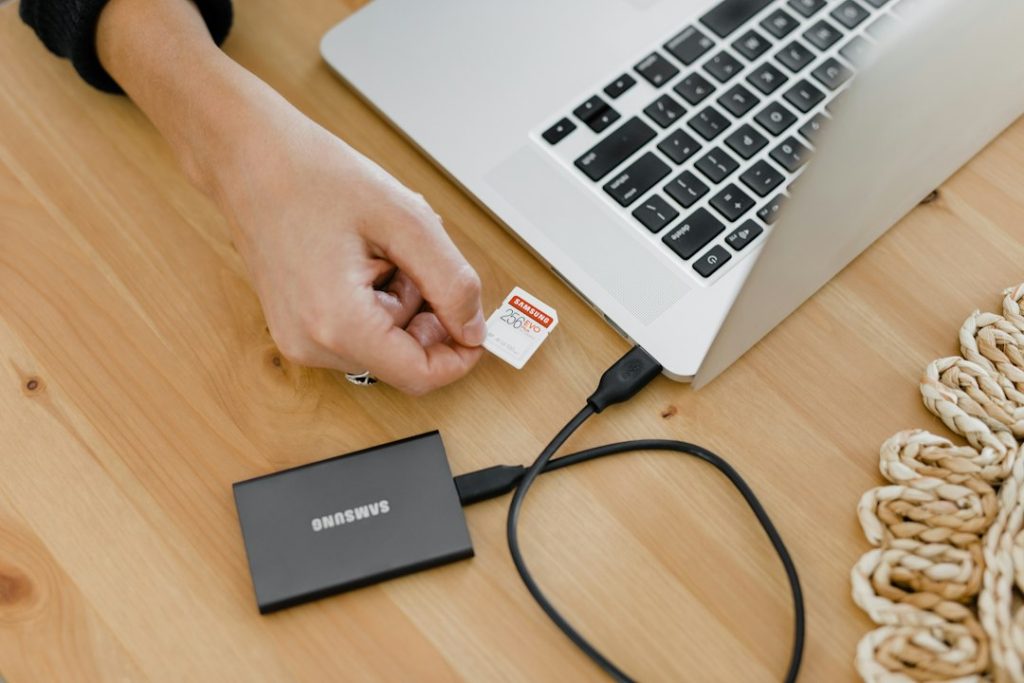
- USB-C or Thunderbolt cable (appropriate for your Mac and SSD)
- Reliable power source for both Mac and SSD
Why Automate Your Time Machine Backups to an External SSD?
Relying on manual backups is a gamble, akin to driving without insurance. In the digital realm, data loss isn’t a matter of ‘if,’ but ‘when.’ Hardware failures, software glitches, accidental deletions, or even a sophisticated ransomware attack can wipe out your precious files in an instant. Automating your Time Machine backups to a dedicated external SSD transforms this critical task from a chore into a background process, ensuring your digital life is continuously protected without you lifting a finger. This isn’t just about convenience; it’s about robust, modern data protection for the demands of 2026 and beyond.
The Unbeatable Combo: Time Machine + External SSD
Apple’s Time Machine software has been a reliable workhorse for years, offering granular control over your backups. However, its true potential is unlocked when paired with a modern external Solid State Drive (SSD). Unlike traditional Hard Disk Drives (HDDs), SSDs offer significantly faster read/write speeds, enhanced durability due to the absence of moving parts, and lower power consumption. This means quicker backups, faster restores, and a more resilient storage solution that can keep pace with the high demands of today’s workflows, especially for remote professionals who can’t afford downtime.

Beyond Manual Backups: The Risks You Avoid
Forgetting to back up is a common pitfall. Life gets busy, and a manual backup can easily slip your mind. Each day you miss is a day’s worth of data potentially lost forever. Furthermore, relying on a single backup method or location is precarious. If your Mac and its only backup are in the same physical location and disaster strikes (fire, theft, flood), you lose everything. Automating to an external SSD eliminates the human error element and provides a consistent, reliable data safety net.
Future-Proofing Your Data: Why 2026 Demands Automation
The sheer volume of data generated today dwarfs that of previous years. High-resolution photos, 4K video projects, massive datasets for work – our digital footprints are expanding exponentially. The speed and efficiency of SSDs are no longer a luxury but a necessity to handle these growing data demands. By 2026, manual backup routines are simply too slow and unreliable for the modern digital life. Automation ensures that your ever-increasing data is consistently captured, safeguarding your work, memories, and critical information against the unpredictable nature of technology.
Choosing the Right External SSD for Your Time Machine
Not all external SSDs are created equal, especially when tasked with the crucial job of backing up your entire digital life. Selecting the right drive involves understanding the technical specifications and how they translate to real-world performance and reliability for Time Machine.
SSD vs. HDD: The Speed and Durability Debate
The primary advantage of an SSD over a traditional HDD for Time Machine backups is speed. Backing up gigabytes, or even terabytes, of data can take hours on an HDD. An SSD can slash this time significantly, often reducing a full backup to under an hour, and subsequent incremental backups to mere minutes. Furthermore, SSDs have no moving parts, making them far more resistant to physical shock and vibration – a crucial factor for any drive that might be moved or jostled, even occasionally. This inherent durability translates to a longer lifespan and reduced risk of failure during a critical backup or restore operation.

Key Features to Look For: Capacity, Speed, and Reliability
Capacity: The golden rule is to have an external drive with at least twice the capacity of your Mac’s internal storage. This provides ample room for the initial full backup, all subsequent incremental backups, and historical versions of your files that Time Machine keeps. Under-provisioning capacity is a fast track to backup interruptions and management headaches.
Speed: Look for SSDs with high sequential read/write speeds. While Time Machine doesn’t always saturate these speeds, faster is always better for quicker backups and restores. Interface types like USB 3.2 Gen 2 or Thunderbolt 3/4 will offer the best performance. Ensure your Mac has the corresponding ports.
Reliability: This is paramount. Check reviews focusing on long-term reliability and failure rates. Brands known for quality NAND flash memory and robust controller technology tend to be more dependable. Some SSDs offer hardware encryption, which can add a layer of security but might slightly impact performance; for Time Machine, this is often secondary to speed and reliability.
Top External SSD Picks for Mac Users in 2026
While the market is dynamic, certain drives consistently offer a compelling blend of performance, durability, and value for Mac users.
Best Overall: Samsung T7 Shield Portable SSD
The Samsung T7 Shield is a perennial favorite for its excellent balance of speed (up to 1,050MB/s read, 1,000MB/s write), robust build quality (IP65 rating for dust and water resistance), and compact form factor. It utilizes USB 3.2 Gen 2, offering ample speed for Time Machine. Its rugged design provides an extra layer of protection against the elements, ideal for professionals on the move.
Best Budget-Friendly: Crucial X8 Portable SSD
For those prioritizing value without sacrificing essential performance, the Crucial X8 is a strong contender. It offers impressive speeds for its price point (up to 1,050MB/s read, 800MB/s write) via USB 3.2 Gen 2. It’s sleek, durable, and provides sufficient capacity options for most users looking for an affordable yet effective Time Machine solution.
Best High-Capacity: LaCie Mobile SSD Secure
When your data needs demand more space, LaCie often delivers. The LaCie Mobile SSD Secure provides large capacity options (up to 5TB) with good speeds (up to 1,050MB/s read, 1,000MB/s write) and incorporates hardware encryption for enhanced data security. Its rugged design and reputable brand make it a solid, albeit pricier, choice for users with massive datasets.
Step-by-Step: Setting Up Automated Time Machine Backups
Getting your external SSD ready and configured with Time Machine is a process that requires attention to detail, but it’s entirely manageable. Follow these steps meticulously.

Initializing Your External SSD for Mac
Before Time Machine can use your new SSD, it needs to be formatted correctly for macOS. This ensures optimal performance and compatibility.
Formatting with Disk Utility (APFS Recommended)
macOS Big Sur and later versions utilize APFS (Apple File System) as their native file system, which offers significant advantages for SSDs, including space sharing, snapshots, and improved performance. It is the recommended format for Time Machine backups on modern Macs.
Connect the SSD
Plug your external SSD into your Mac using the appropriate USB-C or Thunderbolt cable. Ensure it’s powered on if it requires external power.
Open Disk Utility
Navigate to Applications > Utilities > Disk Utility. If you don’t see it, use Spotlight Search (Cmd + Space) and type “Disk Utility.”
Select the SSD
In the Disk Utility sidebar, locate your external SSD. Be very careful to select the *top-level drive* and not just a volume indented beneath it. You may need to click “View” > “Show All Devices” to see the physical drive.
Erase the Drive
Click the “Erase” button in the toolbar. In the dialog box:
- Name: Give your drive a descriptive name (e.g., “Time Machine SSD”).
- Format: Select APFS. If you are using an older Mac (pre-Catalina) or need compatibility with older systems, you might consider “Mac OS Extended (Journaled),” but APFS is preferred for modern setups.
- Scheme: Choose “GUID Partition Map.”
Click “Erase.” This process will wipe all data from the drive.
Erasing and Partitioning Best Practices
While the “Erase” function in Disk Utility usually handles partitioning correctly by default when selecting APFS and GUID Partition Map, understanding the concept is key. For Time Machine, a single, large partition encompassing the entire drive is generally ideal. Avoid creating multiple partitions on your Time Machine drive, as this can complicate Time Machine’s management of available space and potentially lead to errors.
Configuring Time Machine for Automated Backups
Once your SSD is formatted, you’re ready to tell Time Machine to use it.
Open Time Machine Preferences
Go to System Settings (or System Preferences on older macOS versions) > General > Time Machine, or click the Time Machine icon in your menu bar (if enabled) and select “Back Up Now” or “Open Time Machine Settings.”
Select Backup Disk
Click the “Add Backup Disk” or “Select Backup Disk” button. Time Machine will scan for available drives. Choose your newly formatted external SSD from the list.
Encrypt Backups (Recommended)
You’ll likely see an option to “Encrypt Backups.” It is strongly recommended to check this box. You will be prompted to create a password. *Do not lose this password*, as it’s the only way to access your encrypted backups.
Start the Backup
Click “Set Up Disk” or “Use Disk.” Time Machine will prepare the drive and begin the first full backup automatically. You can monitor its progress from the Time Machine icon in the menu bar.
Selecting Your External SSD as the Backup Disk
Time Machine’s interface is designed for simplicity. When prompted, your external SSD should appear as a readily available option. Ensure you select the correct drive, named as you formatted it (e.g., “Time Machine SSD”).
Understanding Backup Frequencies and Options
By default, Time Machine performs hourly backups for the past 24 hours, daily backups for the past month, and weekly backups for all previous months until the disk is full. You can adjust these intervals and other settings (like excluding specific folders) within the Time Machine preferences pane, though the default settings are a robust starting point.

The First Full Backup: What to Expect
The initial backup is the most time-consuming, as it copies all data from your Mac to the SSD. Depending on the amount of data and the speed of your SSD and Mac’s connection, this can take anywhere from 30 minutes to several hours. Subsequent backups (incremental backups) will be much faster, only copying files that have changed since the last backup.
Advanced Automation & Optimization Strategies
Once your basic setup is complete, several strategies can enhance your automated backup workflow, ensuring maximum efficiency and reliability.
Scheduling and Customizing Backup Intervals
While Time Machine’s default schedule is generally adequate, power users might want finer control. Using third-party tools or terminal commands (use with extreme caution), you can potentially customize backup intervals beyond the default hourly cadence. However, for most users, the built-in hourly, daily, and weekly logic is sufficient and prevents the backup drive from filling up too quickly while ensuring frequent data protection.
Ensuring Consistent Backups: Power and Connectivity
Consistent backups depend on a stable connection and power. Ensure your external SSD is always connected to your Mac, preferably through a powered USB hub if necessary, or directly if your Mac has sufficient ports. For laptops, keeping the SSD connected even when on battery power is crucial for uninterrupted protection. Avoid physically disconnecting the drive unless absolutely necessary, as this can sometimes confuse Time Machine and lead to errors.
Troubleshooting Common Time Machine Backup Issues
Even with automation, hiccups can occur. Knowing how to address common problems can save significant stress.
“Backup Failed” Errors: What They Mean and How to Fix Them
This is often caused by a disk becoming full, a sudden disconnection, file system errors on either the Mac or the backup drive, or insufficient permissions.
- Check Disk Space: Ensure your backup SSD isn’t completely full.
- Restart: A simple restart of your Mac and reconnecting the SSD can resolve temporary glitches.
- Verify Disk: Use Disk Utility to “First Aid” both your Mac’s internal drive and the Time Machine SSD.
- Reformat/Reconfigure: In worst-case scenarios, you may need to reformat the SSD and set it up as a new backup disk, starting with a fresh full backup.
Slow Backup Speeds: Identifying and Resolving Bottlenecks
If backups are taking unusually long:
- Check Connection: Ensure you’re using the fastest available port (USB 3.0/3.1/3.2, Thunderbolt) and cable. A damaged cable can also throttle speed.
- Reduce Activity: Avoid heavy file transfers or intensive applications during backup times.
- SSD Health: Very old or heavily used SSDs might see performance degradation. Check drive health if possible.
- System Load: A generally slow Mac will also result in slow backups. Ensure your macOS is up-to-date and running efficiently.
Disk Full Scenarios: Managing Your SSD Capacity
Time Machine automatically deletes older backups to make space for new ones. If your drive fills up rapidly, it might indicate:
- Insufficient Capacity: Your SSD might be too small for your data volume and backup history needs. Consider upgrading.
- Exclusions Missing: Large, non-essential files or folders (like virtual machine disk images, large video caches) might be included in backups. Add these to Time Machine’s exclusion list in its preferences.
- Corruption: Rarely, a corrupted backup chain might prevent Time Machine from purging old data correctly. Reformatting and starting fresh is the usual fix.
Maximizing Your Automated Backup Workflow
An automated backup is only as good as its last successful run. Proactive steps ensure your data remains consistently safe.
Verifying Backup Integrity Regularly
While Time Machine is generally reliable, performing periodic manual checks is wise. You can browse backups by entering Time Machine from Finder or by navigating to the backup volume itself (though this is less user-friendly). Periodically restoring a few non-critical files can give you confidence that the backup process is working as expected.
Best Practices for SSD Longevity and Maintenance
SSDs don’t have the same wear-leveling concerns as early models, but proper handling still matters:
- Avoid Extreme Temperatures: Store and operate the SSD within its specified temperature range.
- Stable Connections: Avoid frequent plugging and unplugging, which can stress the connectors.
- Firmware Updates: Occasionally check the manufacturer’s website for SSD firmware updates, though these are less frequent for portable drives.
- Don’t Fill to Max: While not as critical as with HDDs, leaving a small percentage of space free can sometimes help maintain optimal performance and longevity.
Integrating Backups with Your Remote Work Setup
For remote workers, data is the lifeblood of their business. An automated Time Machine backup to an external SSD is non-negotiable. Ensure your backup drive is part of your daily routine – connect it when you sit down to work, leave it connected. Consider storing the backup drive separately from your primary workstation if possible (e.g., in a fireproof safe at home, or a different location if you travel frequently) to protect against localized disasters like fire or theft.
Frequently Asked Questions: Time Machine & External SSDs (2026)
Can I Use a USB Hub for My Time Machine SSD?
Yes, you can use a USB hub, but it’s crucial to use a *powered* hub, especially if the hub also powers other devices or if your Mac has limited power delivery. Ensure the hub supports the speed of your SSD (e.g., USB 3.0/3.1/3.2 or Thunderbolt). A direct connection is always preferable for maximum reliability and speed.
How Often Should I Back Up with Time Machine?
Time Machine’s default hourly backups are generally sufficient for most users. If you make critical changes throughout the day, ensure the drive remains connected so it can perform these frequent, automated backups. The goal is to minimize the amount of data you could possibly lose.
What Happens When My External SSD is Full?
Time Machine automatically deletes the oldest backups to make space for new ones, starting with hourly backups, then daily, then weekly. If the drive becomes completely full and cannot delete older backups (sometimes due to errors or specific file structures), it will stop backing up and notify you. You may need to manually clear space or reformat the drive.
Is APFS or Mac OS Extended (Journaled) Better for Time Machine?
For modern Macs running macOS Catalina (10.15) or later, APFS is superior. It’s optimized for SSDs, offers features like space sharing across volumes (though less relevant for a dedicated Time Machine drive), and generally performs better. Mac OS Extended (Journaled) is a legacy format, suitable for older Macs or HDDs, but APFS is the future-proof choice for SSDs.